How to Simplify UDR Management & Increase Route Limits
&edge_flat=false)
Scenario: One of my customers explained that they wanted to increase the route limit in UDR from 400 to 900. They reached out to the support team, but their request was denied. Additionally, I frequently hear from customers that applying UDR to multiple subnets across different subscriptions and managing routes is a difficult and error-prone task.
Solution: Recently, UDR management in Azure Virtual Network Manager (AVNM) entered preview. This will address both challenges: assigning UDRs to subnets and simplifying route management. It will also support up to 1,000 routes in the UDR, which is higher than the current limit of 400. Although AVNM offers many benefits beyond UDR management, you can use this feature independently without managing your hub-and-spoke VNET through AVNM.
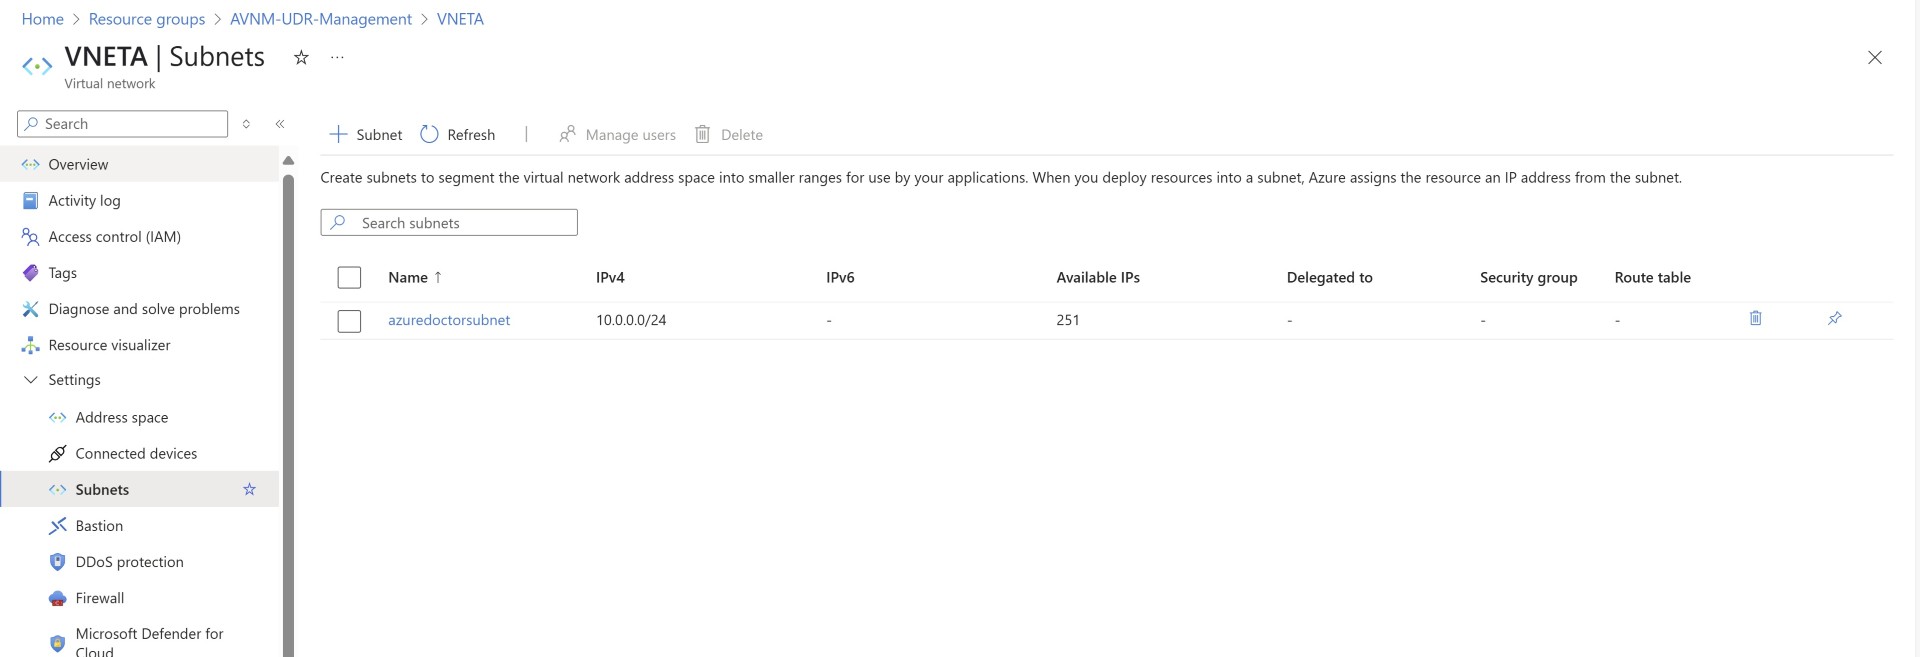
In this blog, I’ll show you how to create an AVNM instance, set up a network group, and apply route collections. Before configuring route management, I want to show that there is no UDR assigned to the subnet, and it appears blank.
Create AVNM Instance
Let’s get started. Search for AVNM and create the instance first.
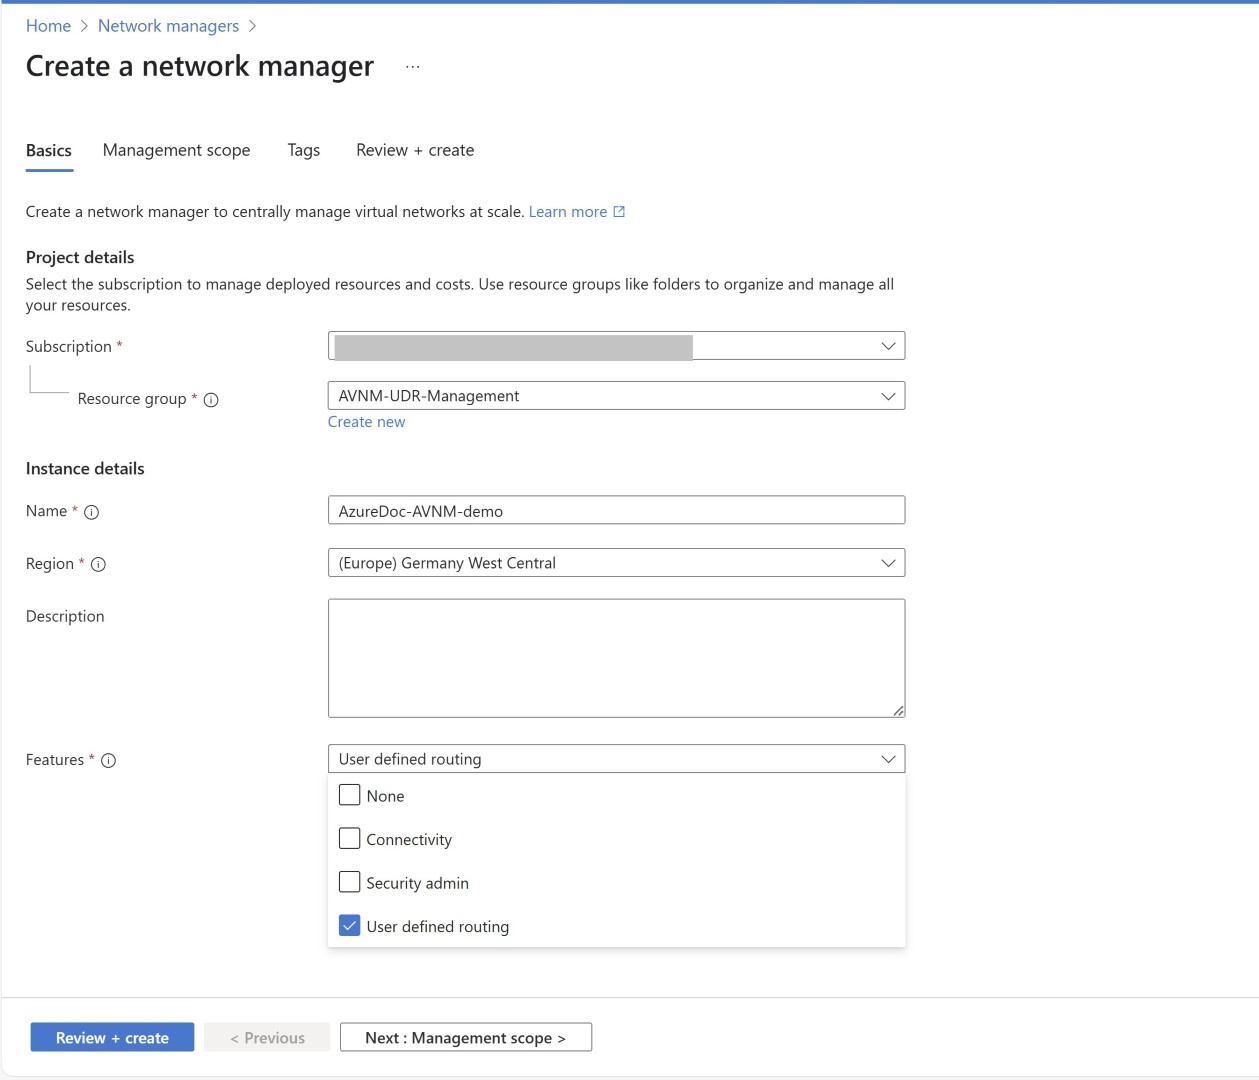
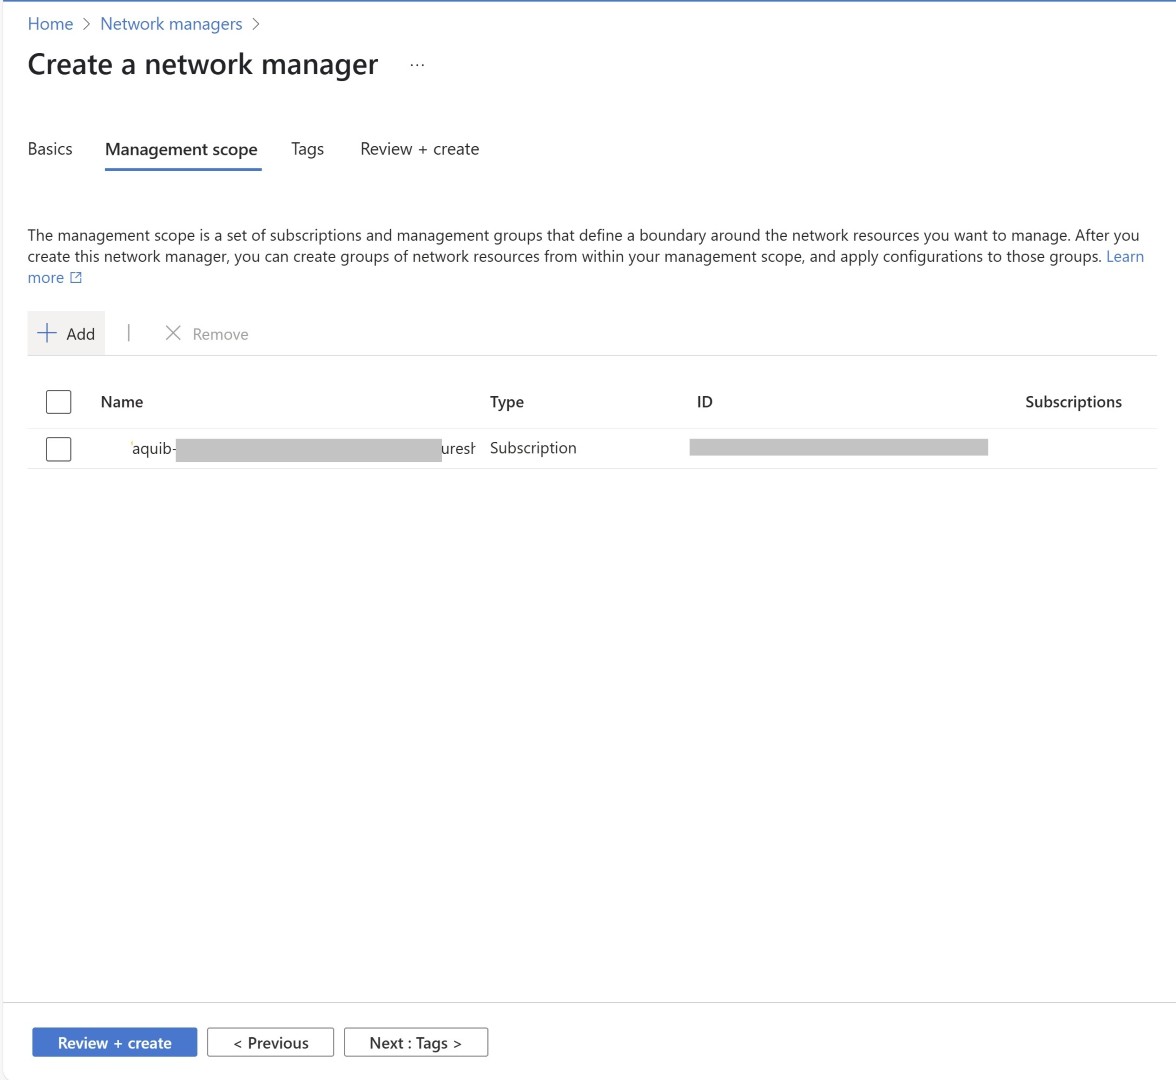
Select the scope as a subscription or management group, then complete the creation step by clicking ‘Review and Create’.
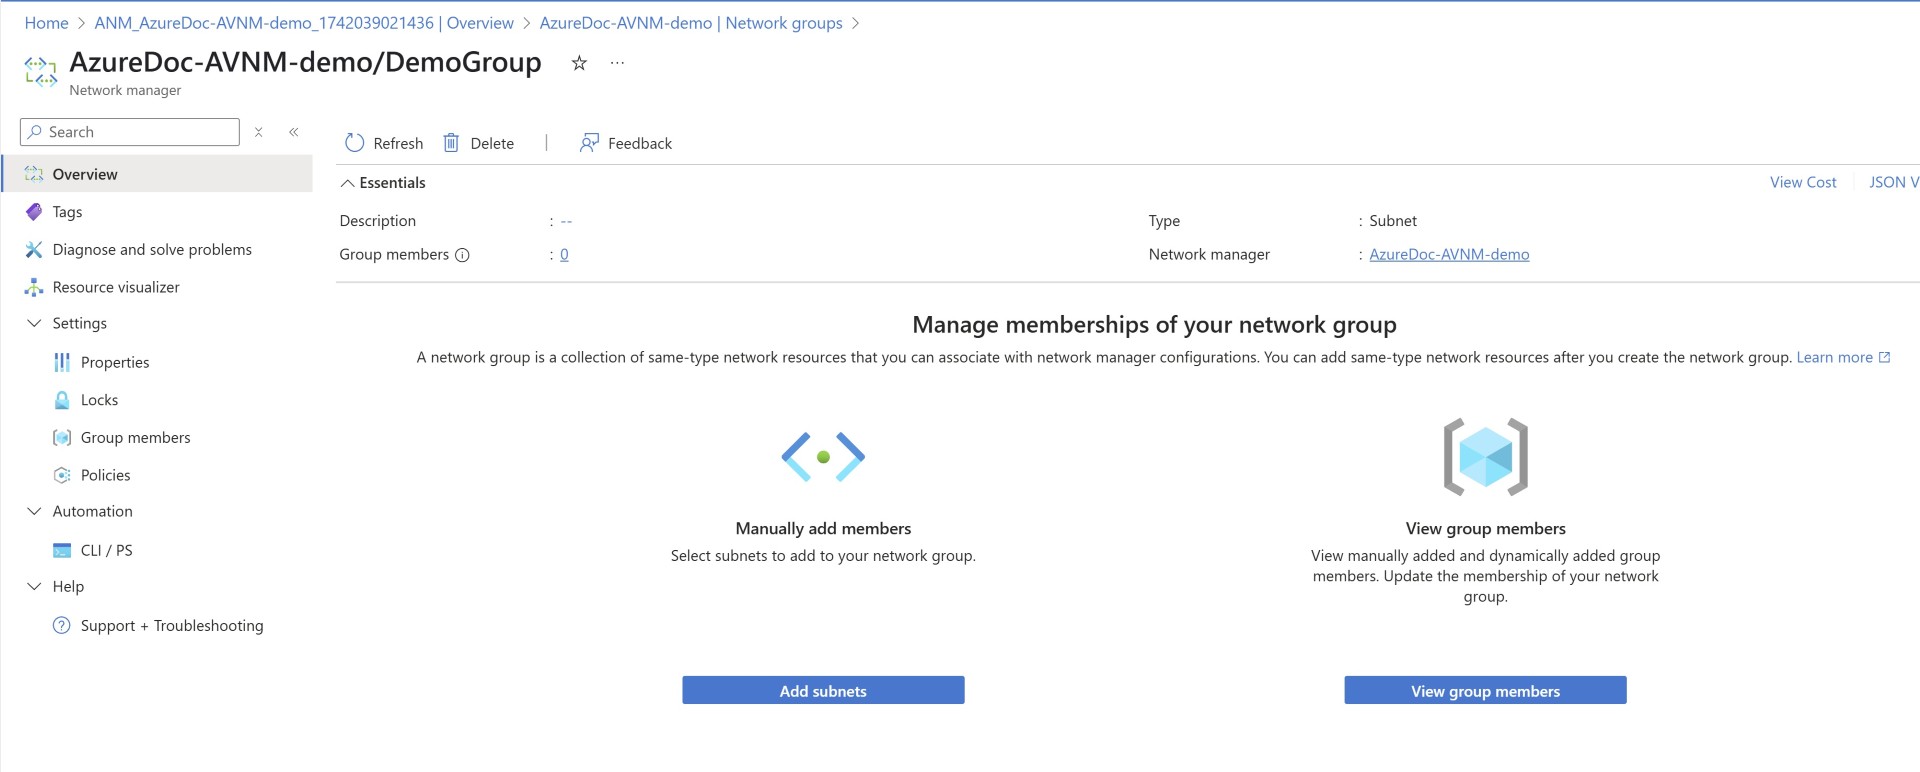
Network Group creation
Once you open the AVNM instance, click on Network groups and then create a new Network group. A network group helps you combine VNETs and subnets into a single group where specific types of routes can be applied.
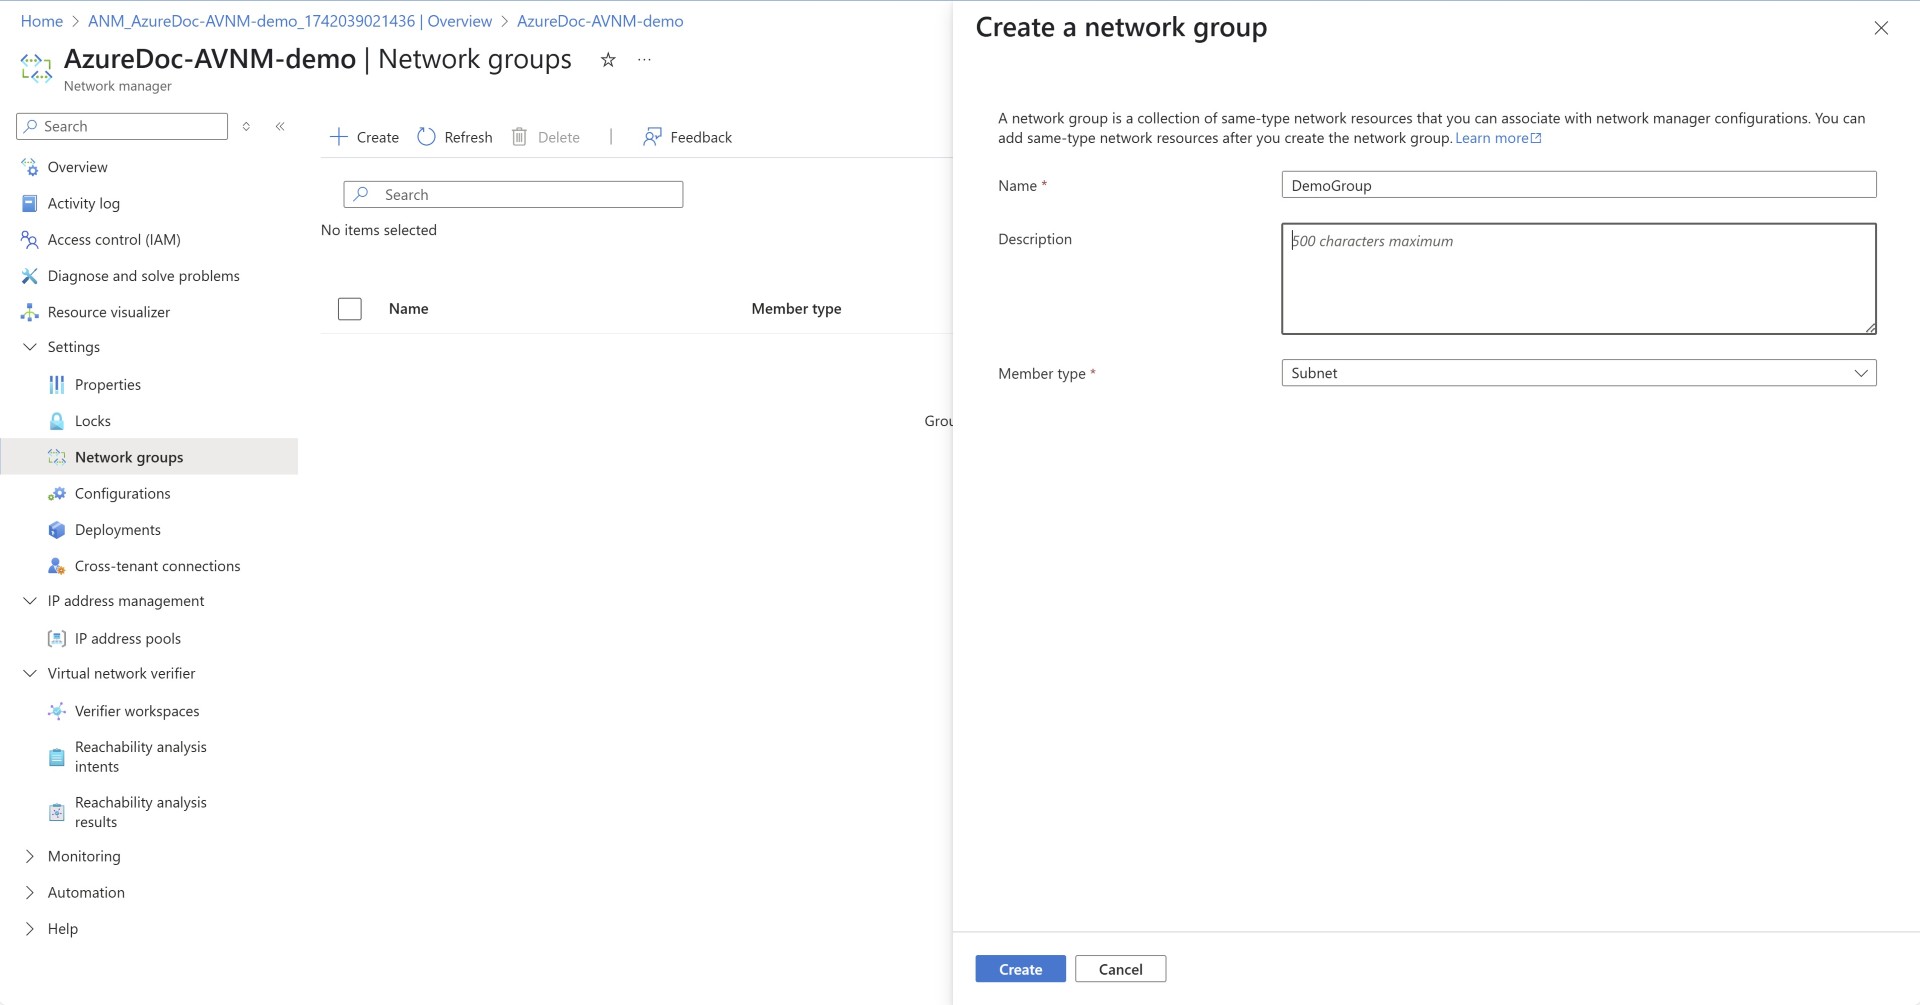
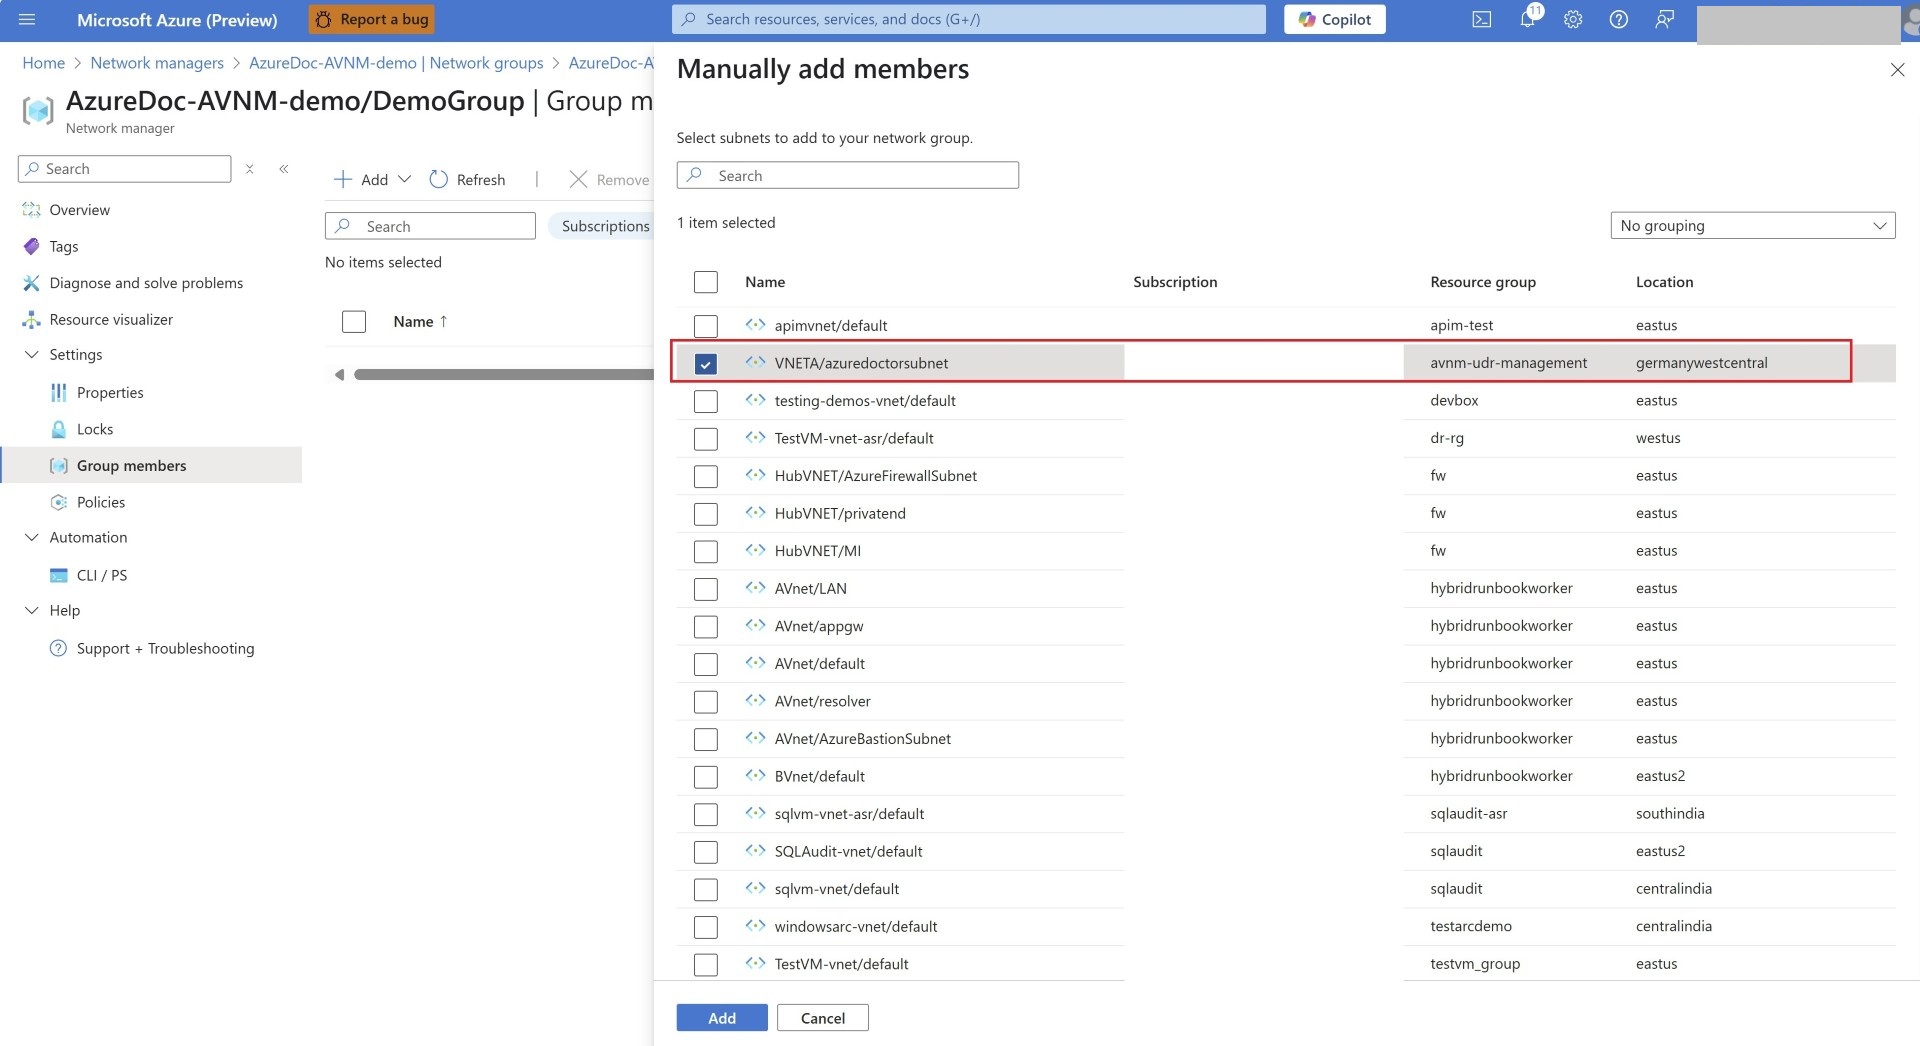
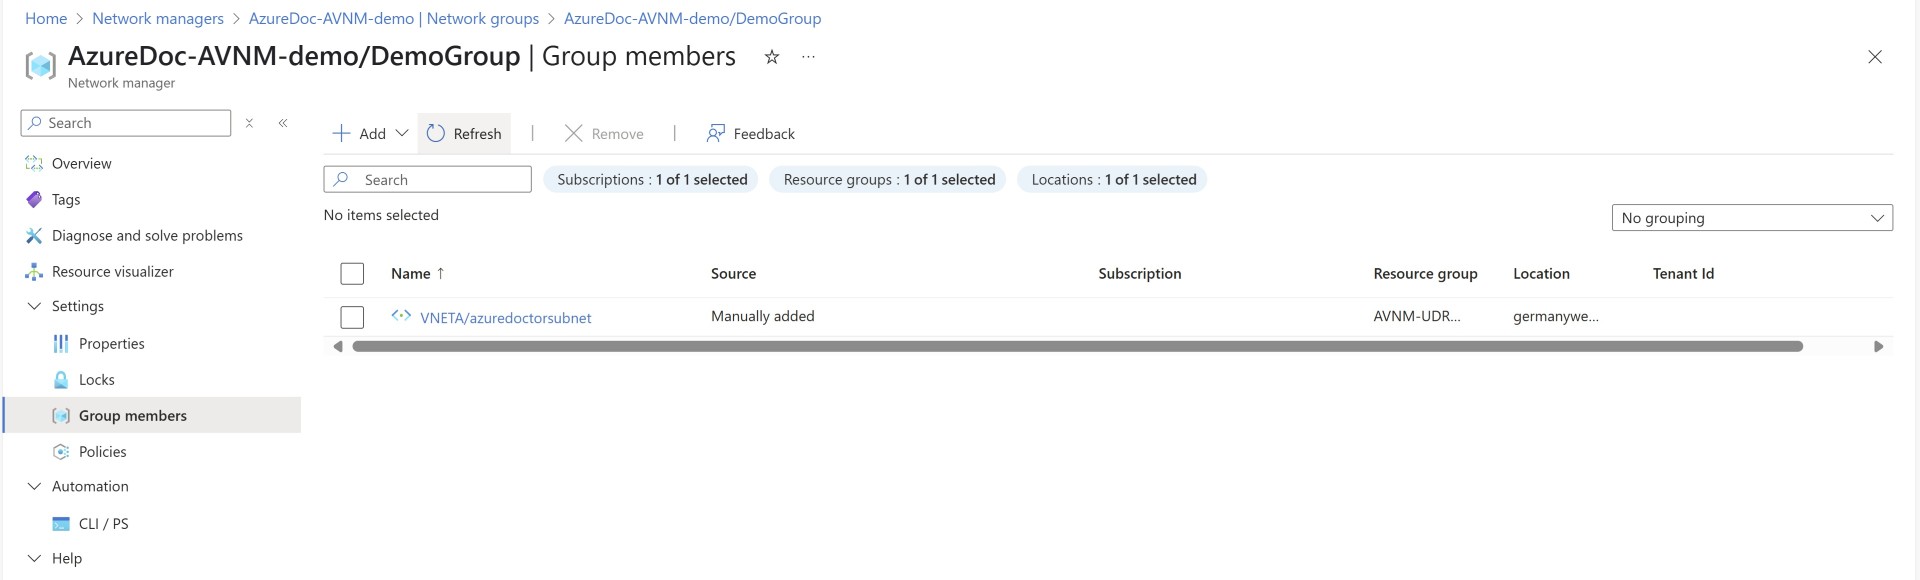
Once Network group is created, you can click on Add

Select the subnet from the list that you want to include in the network group. You can also automate the addition of networks to the network group via Azure Policy. This is adding VNETs dynamically. more info about azure policy can be found here
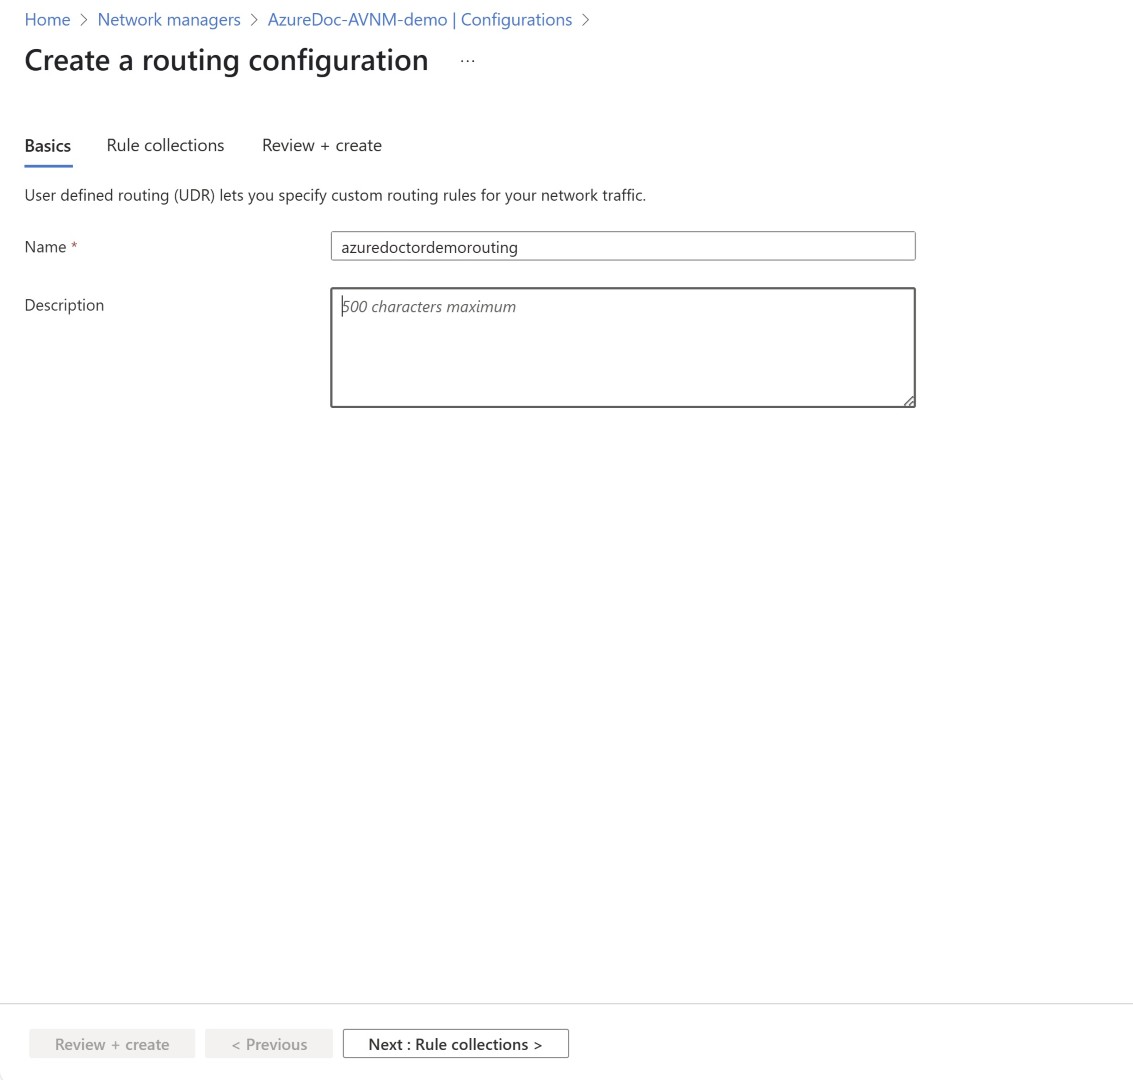
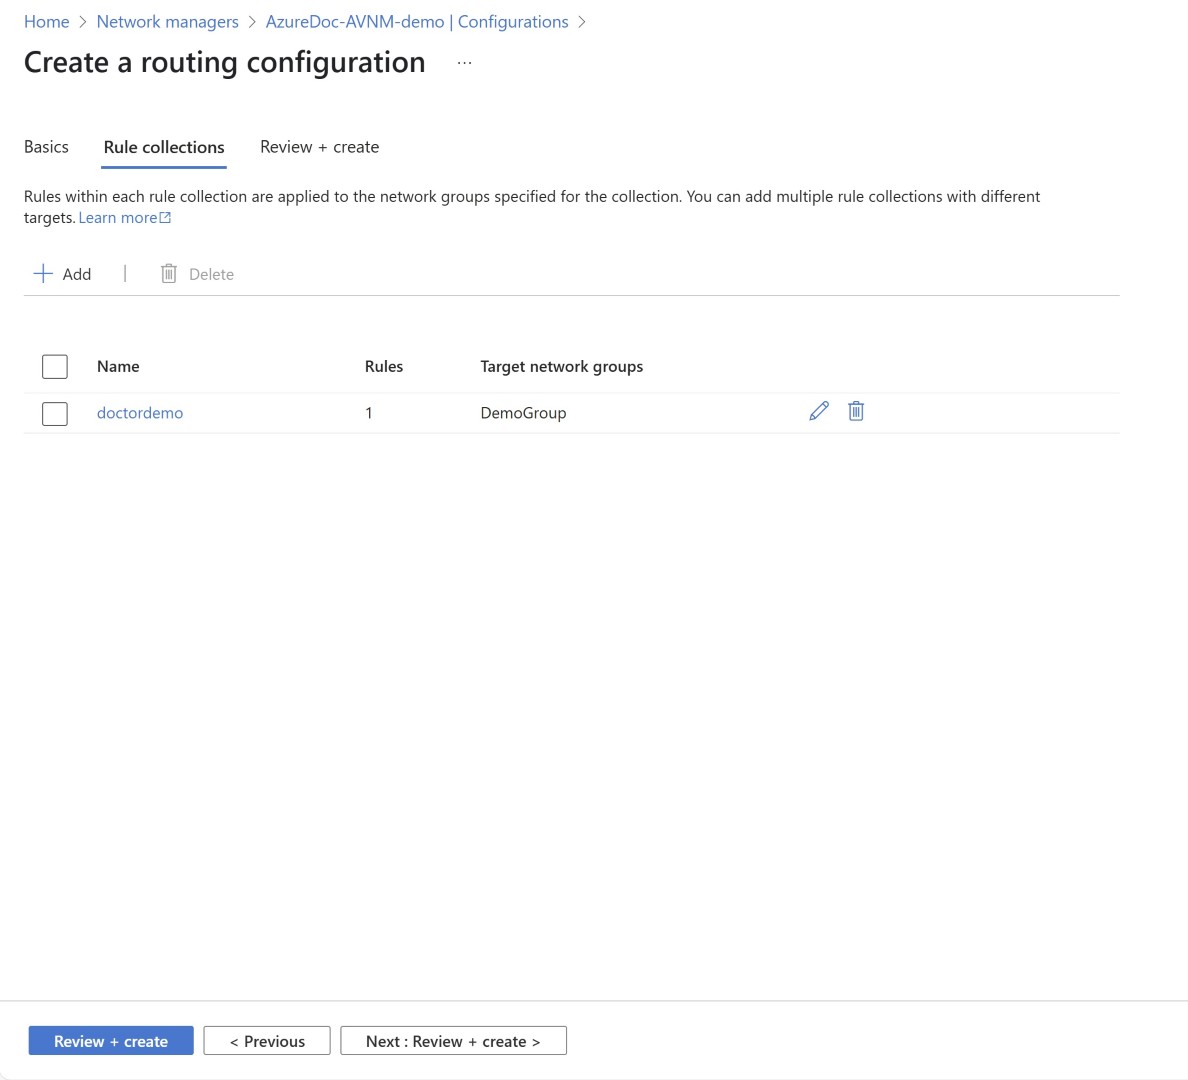
Now, let’s configure routing by adding route details.
Route configuration
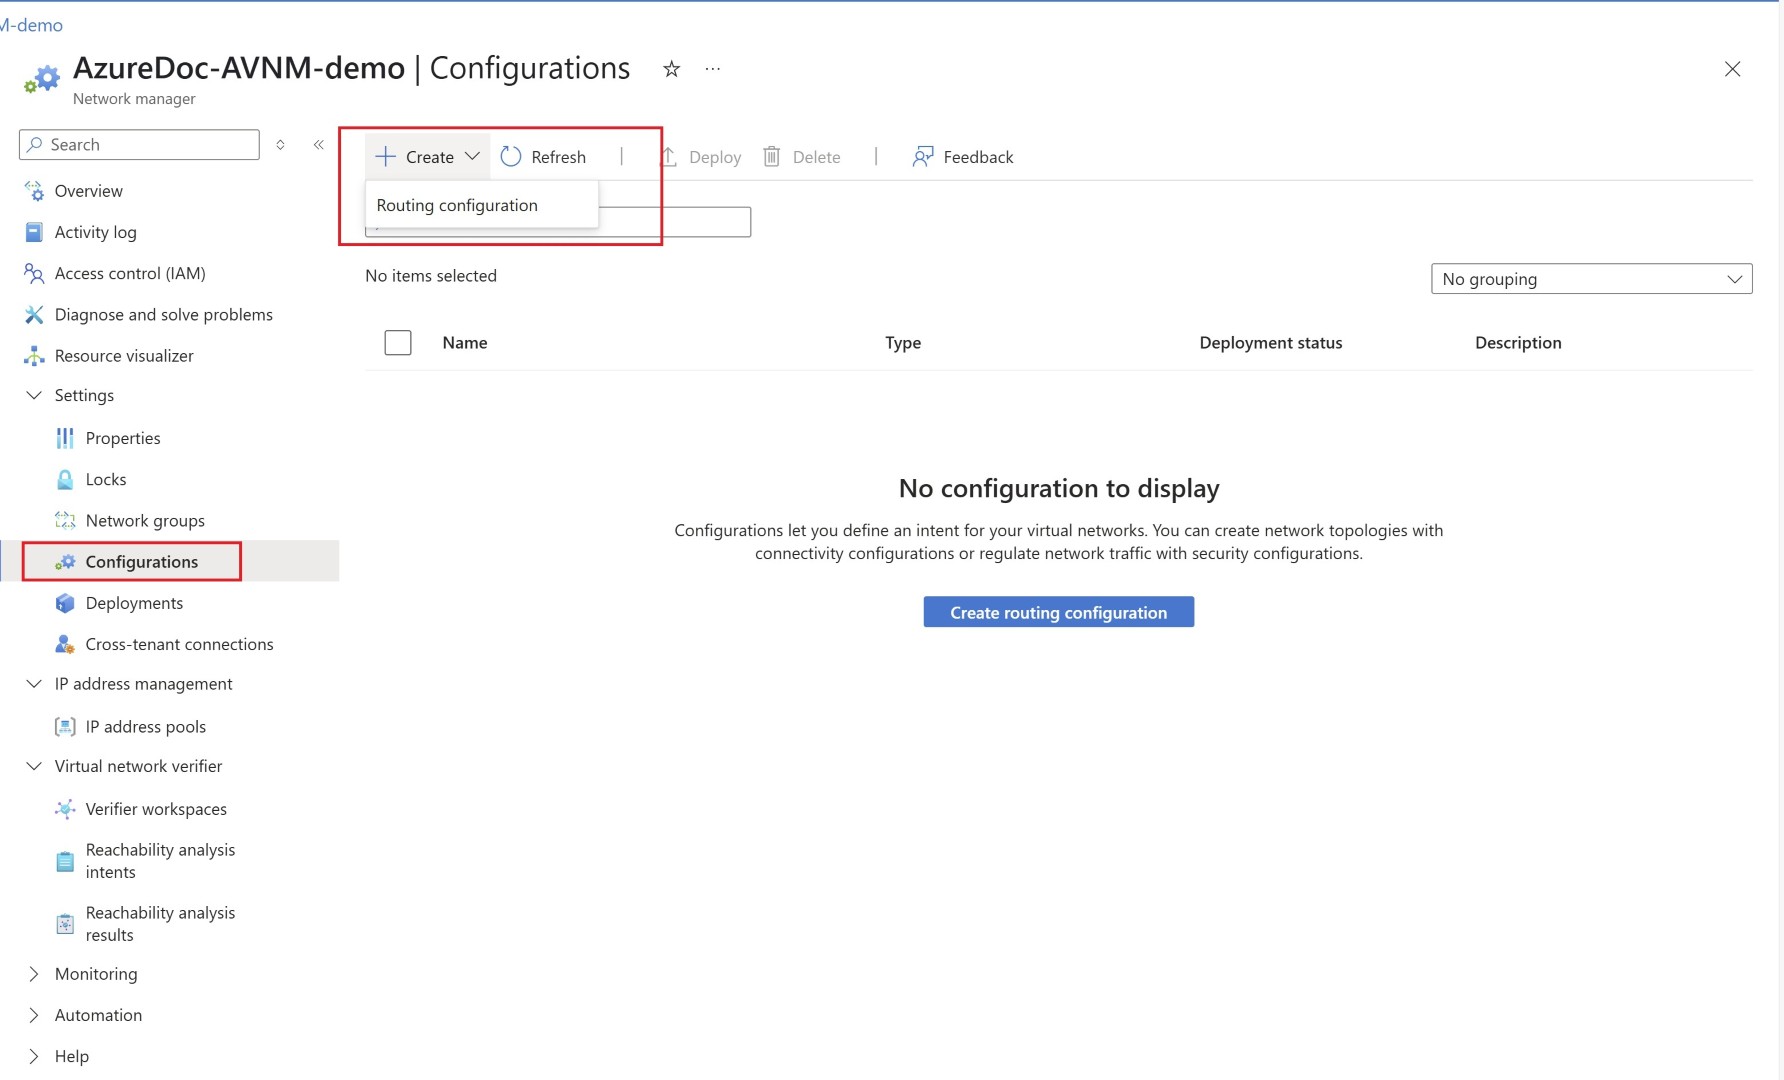
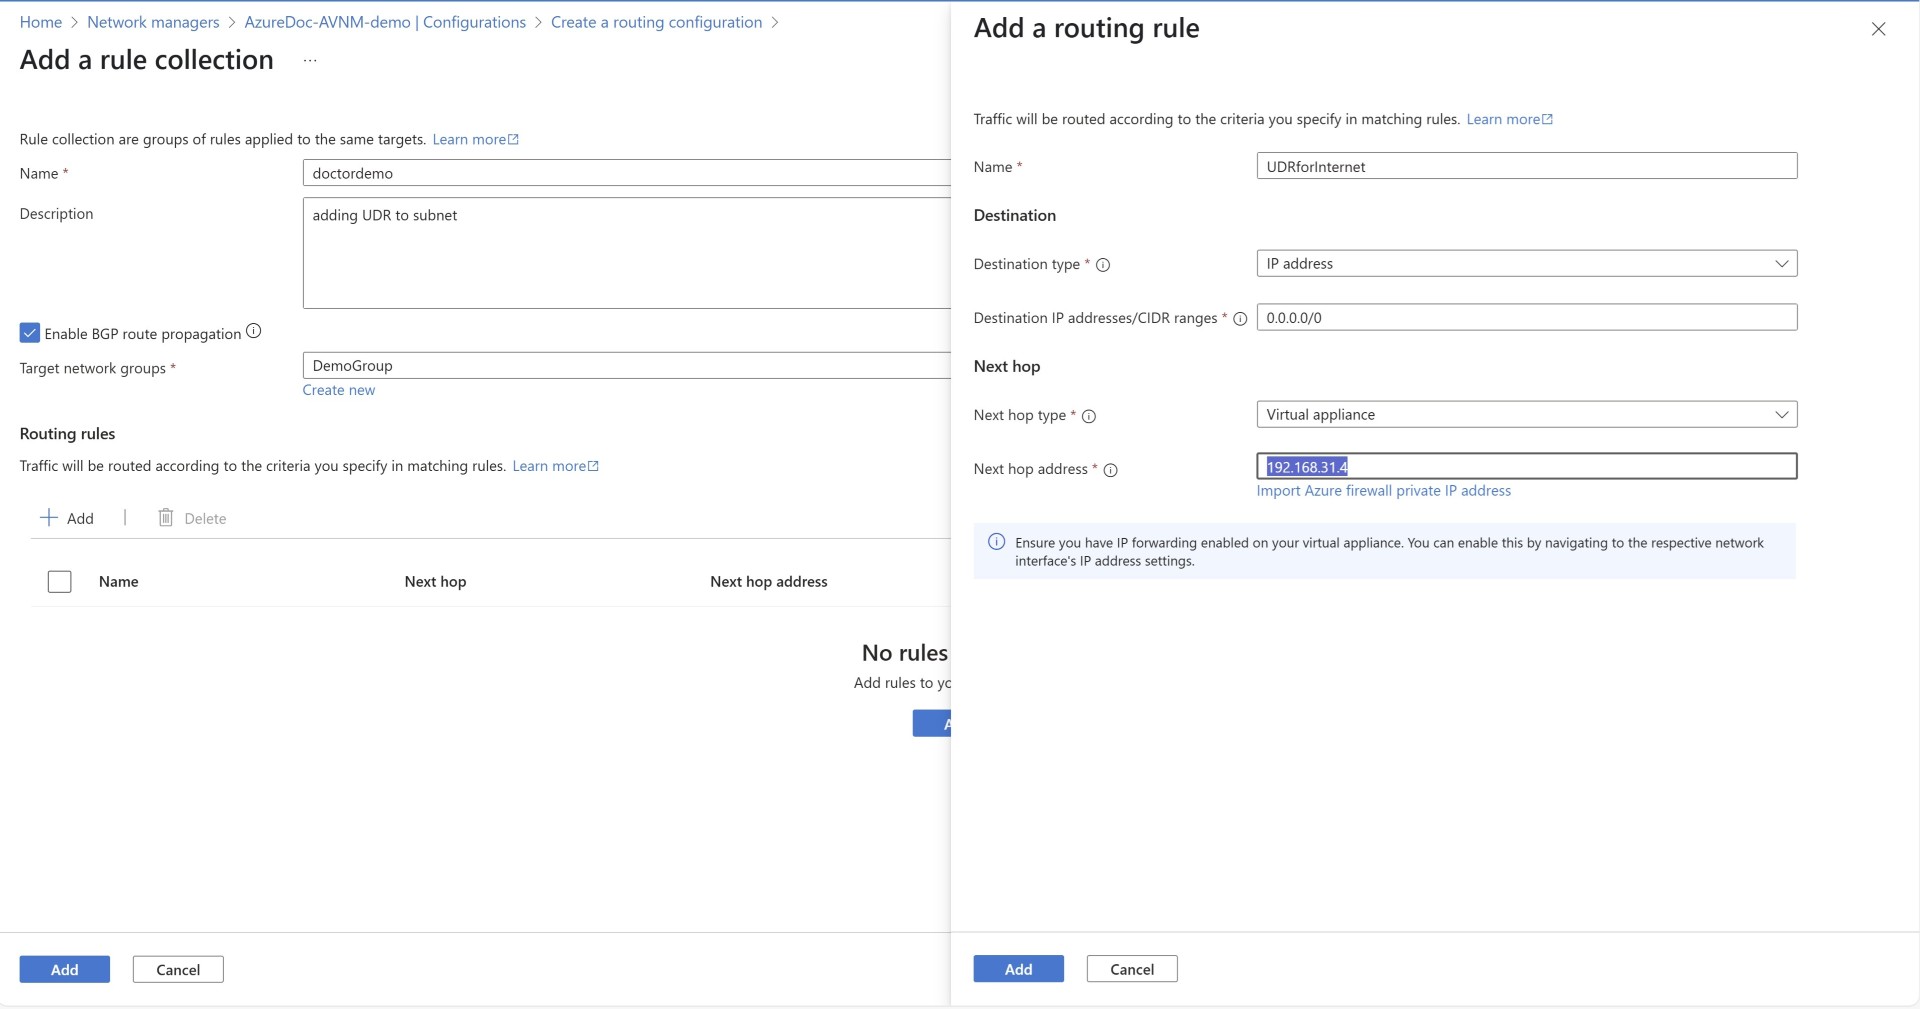
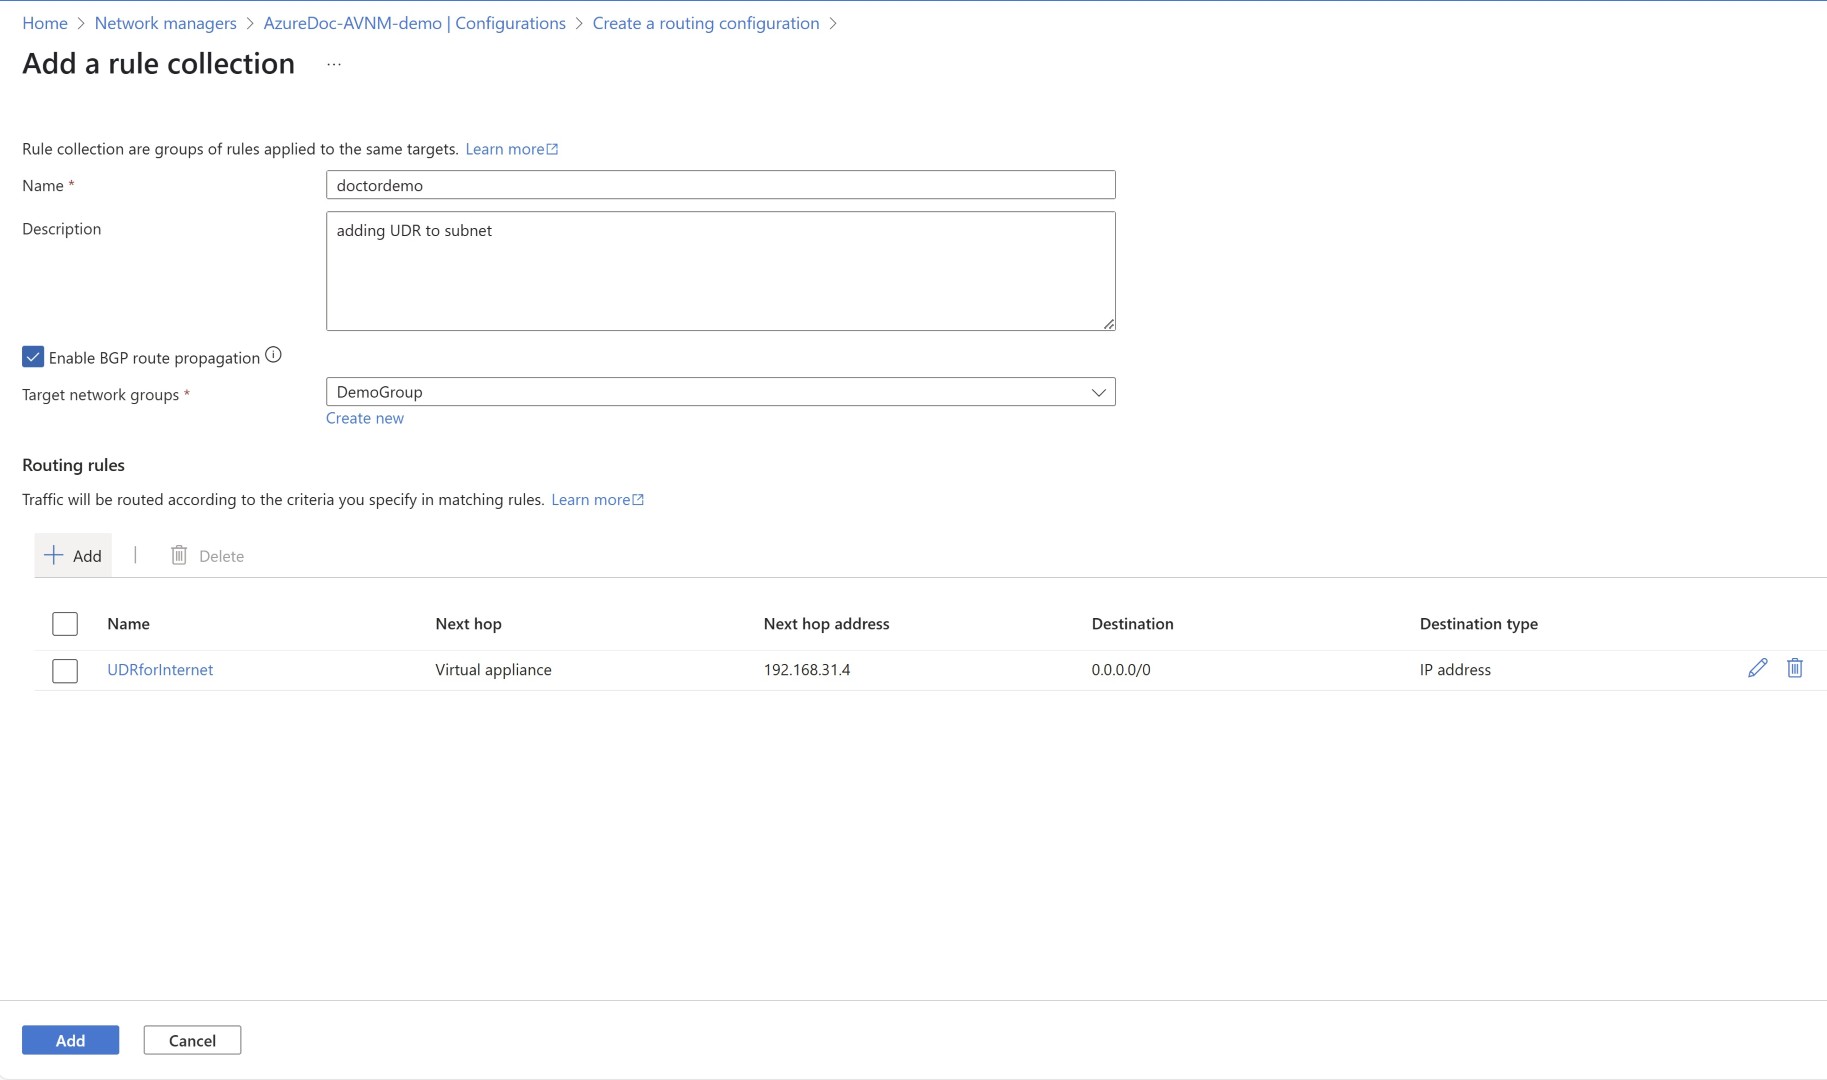
We need to add rule collections here; you can add multiple.
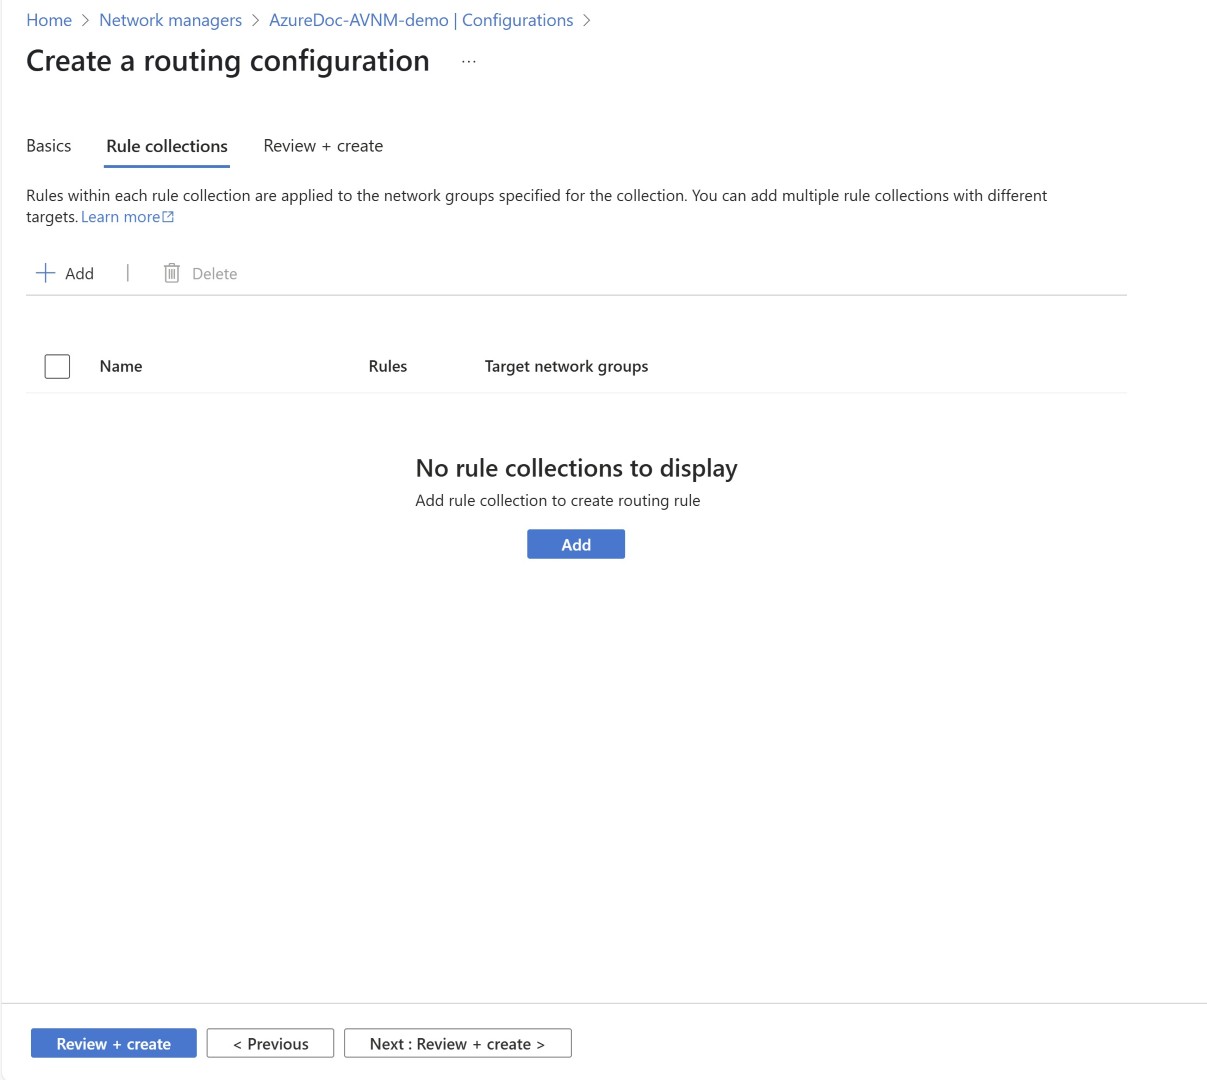
Here, we have also selected the network group to which these rule collections will be applied.
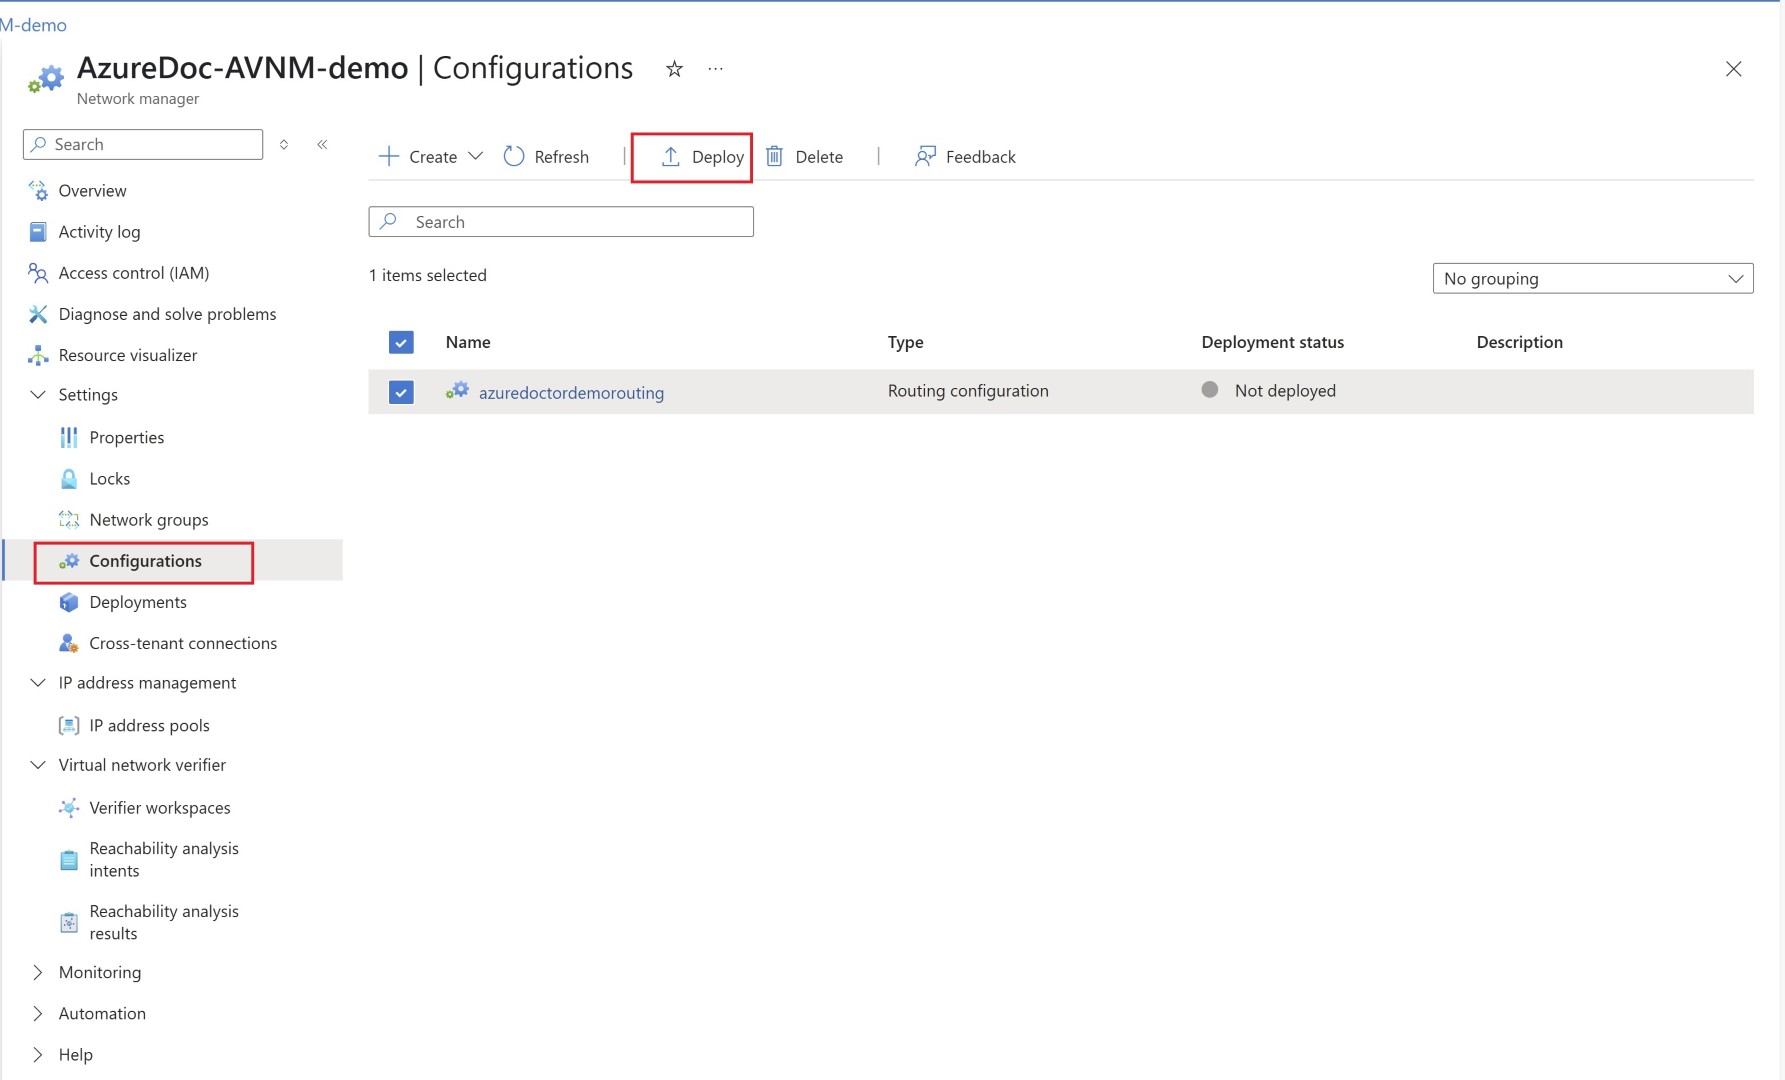
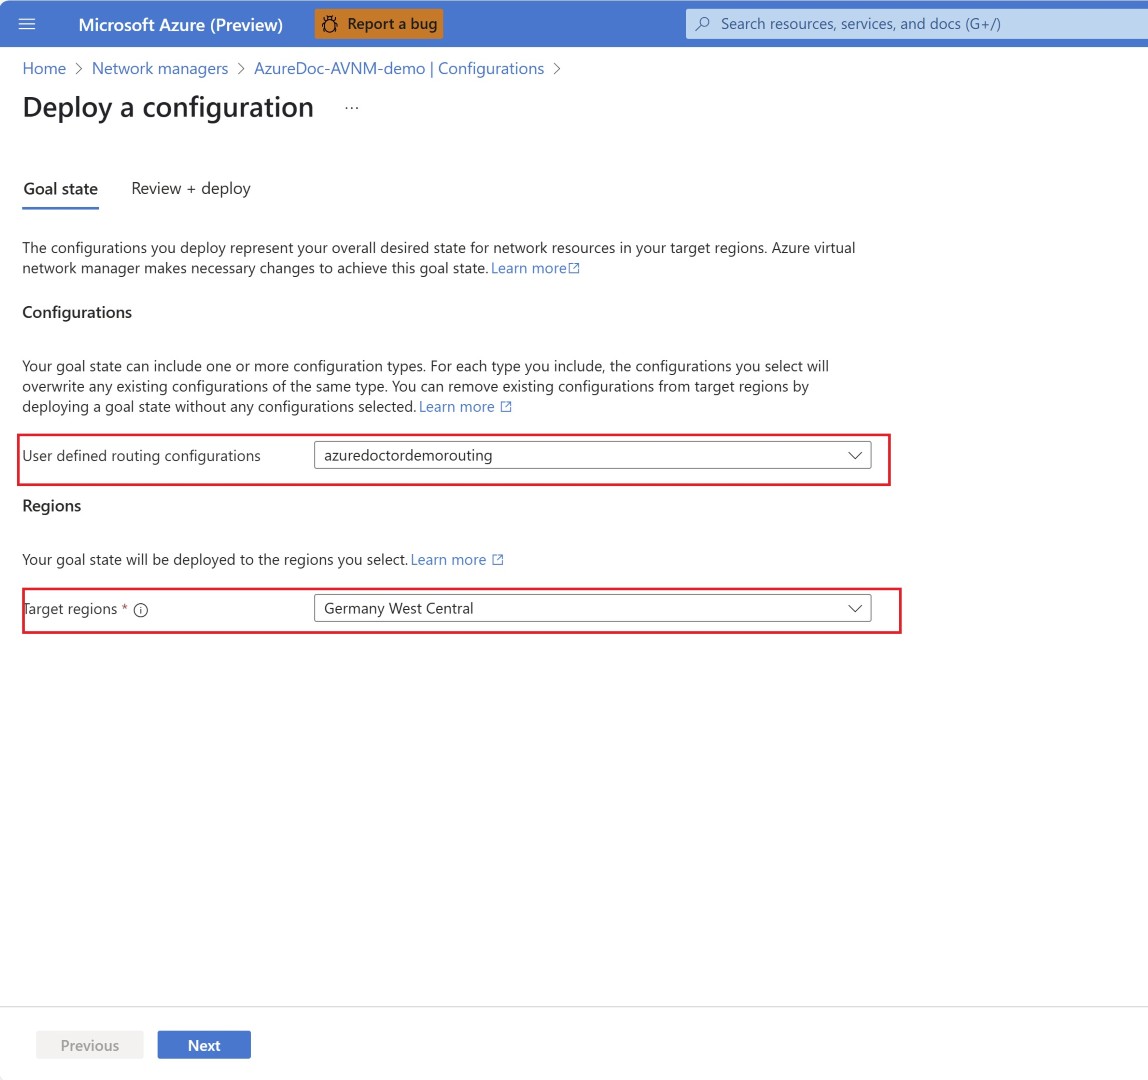
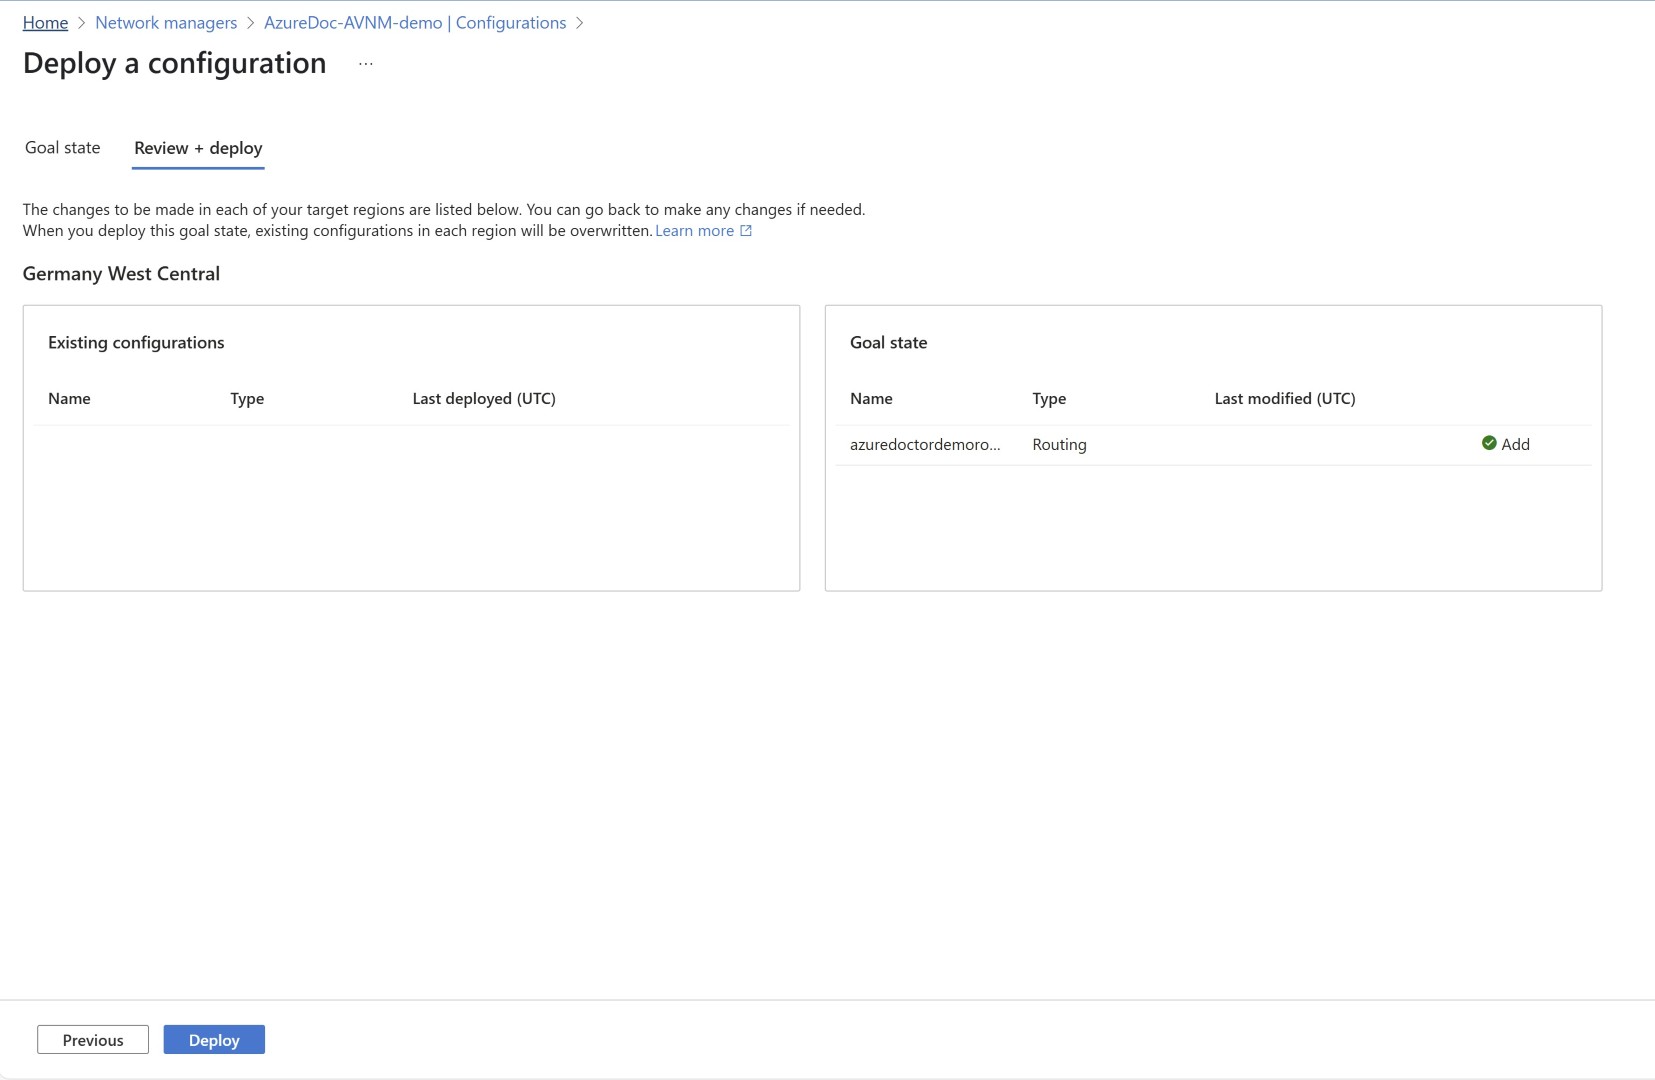
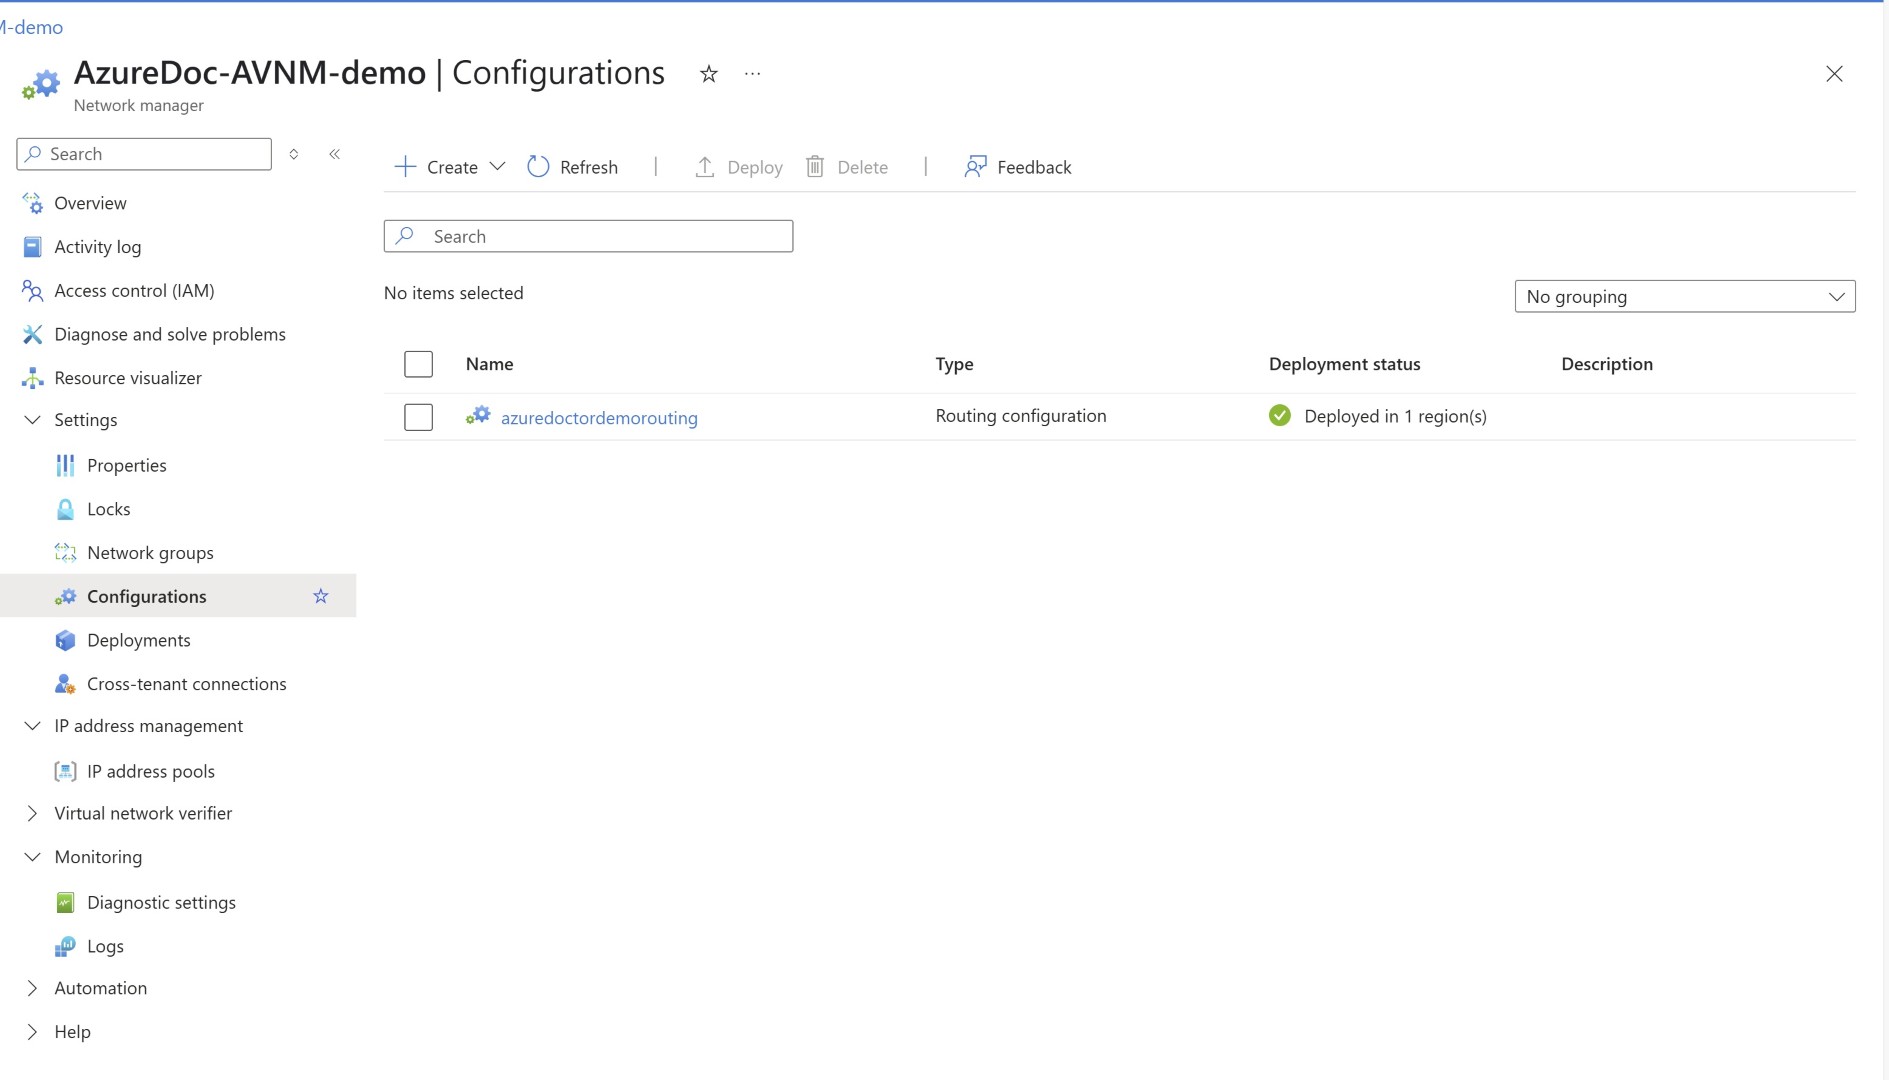
Deploy Configuration
We’ll deploy the configuration to ensure that the routing settings are applied to the network group.
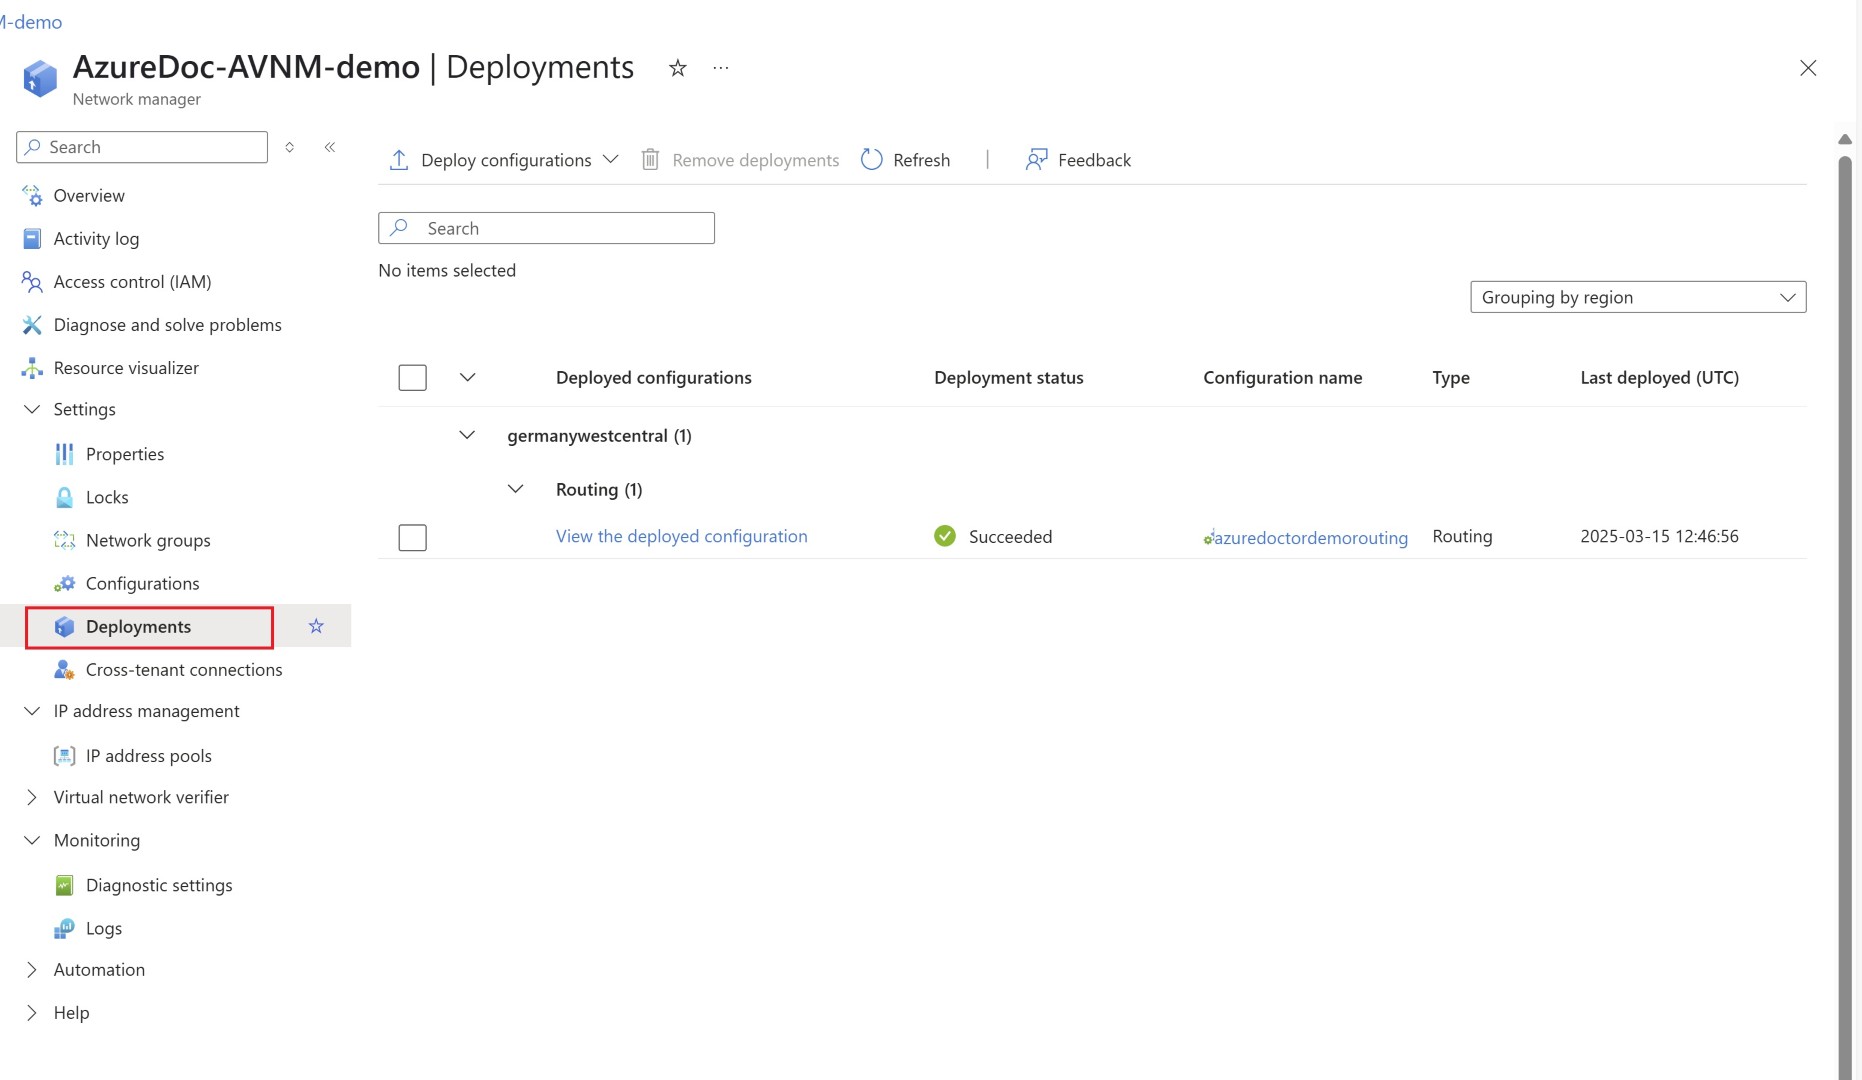
Validation status
You can check whether the deployment succeeded or failed by going to the deployment blade
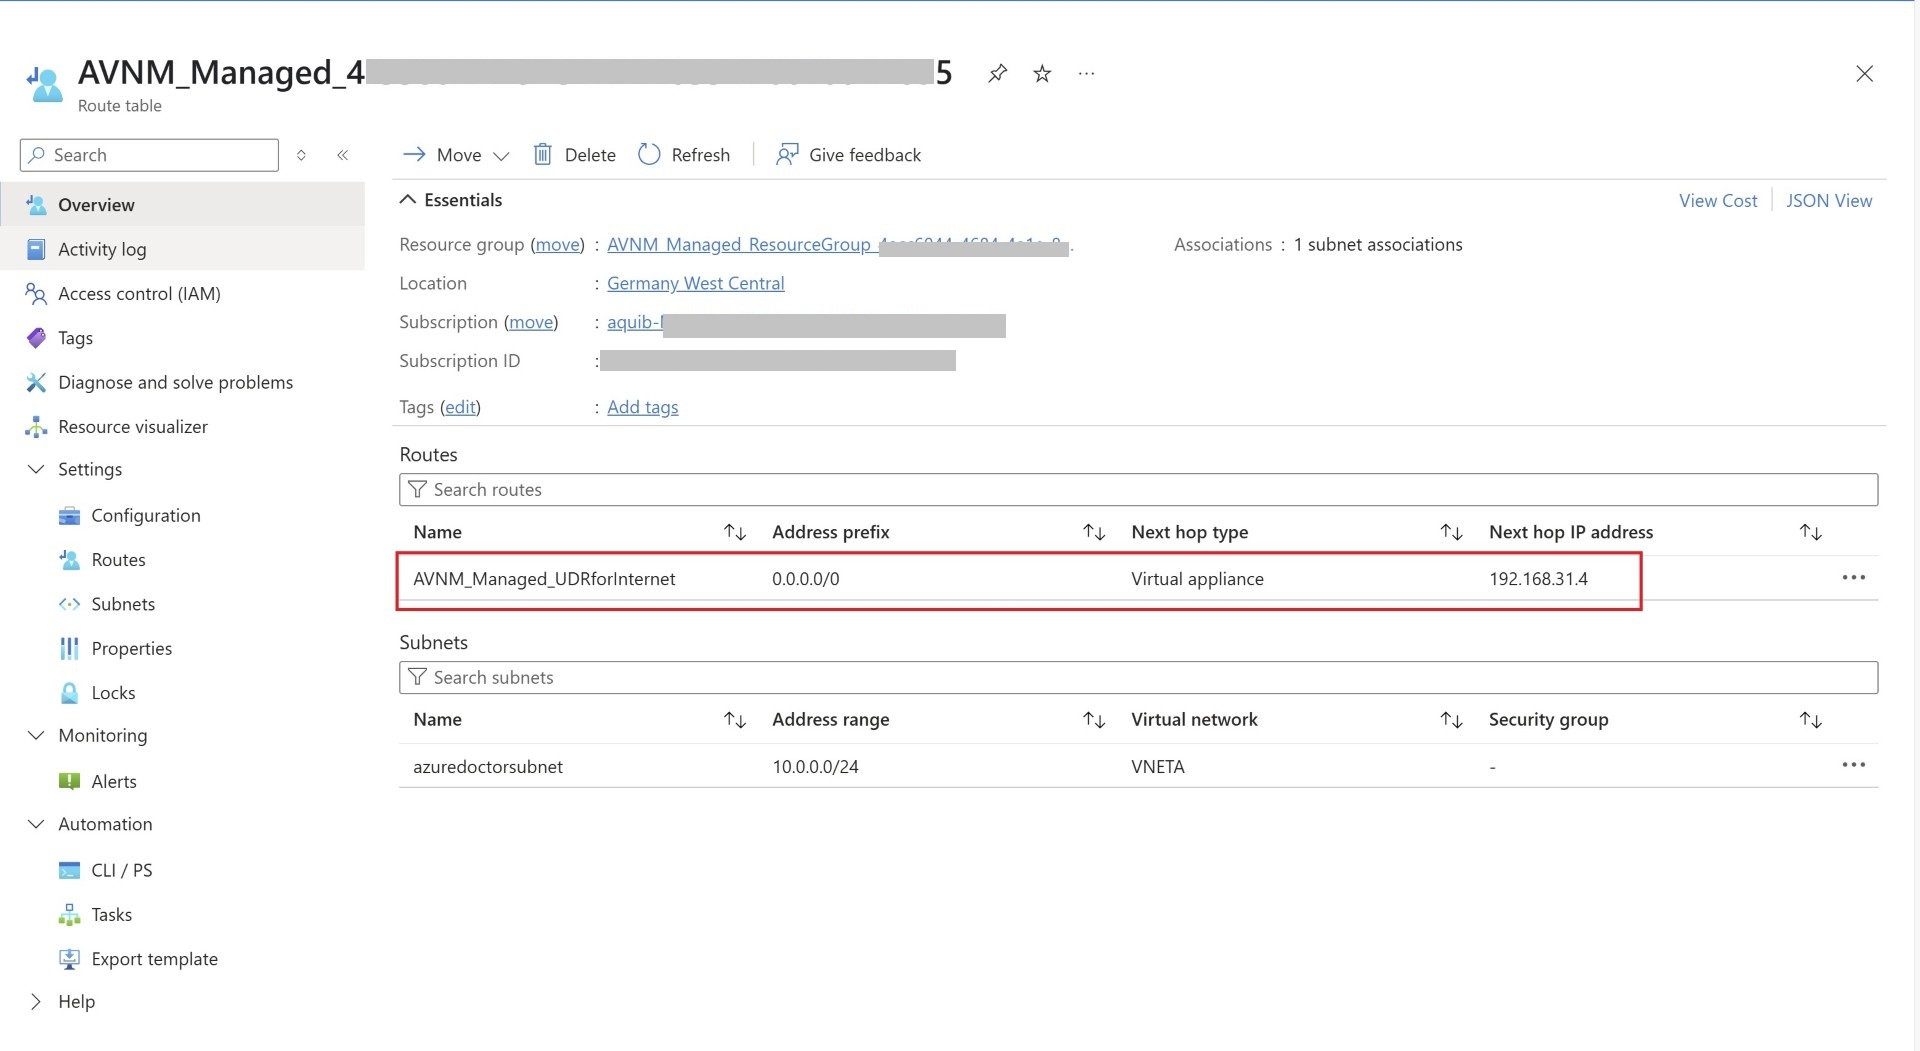
Now, let’s validate whether a UDR is assigned to the subnet. Yes, you will find a UDR with a GUID value assigned.
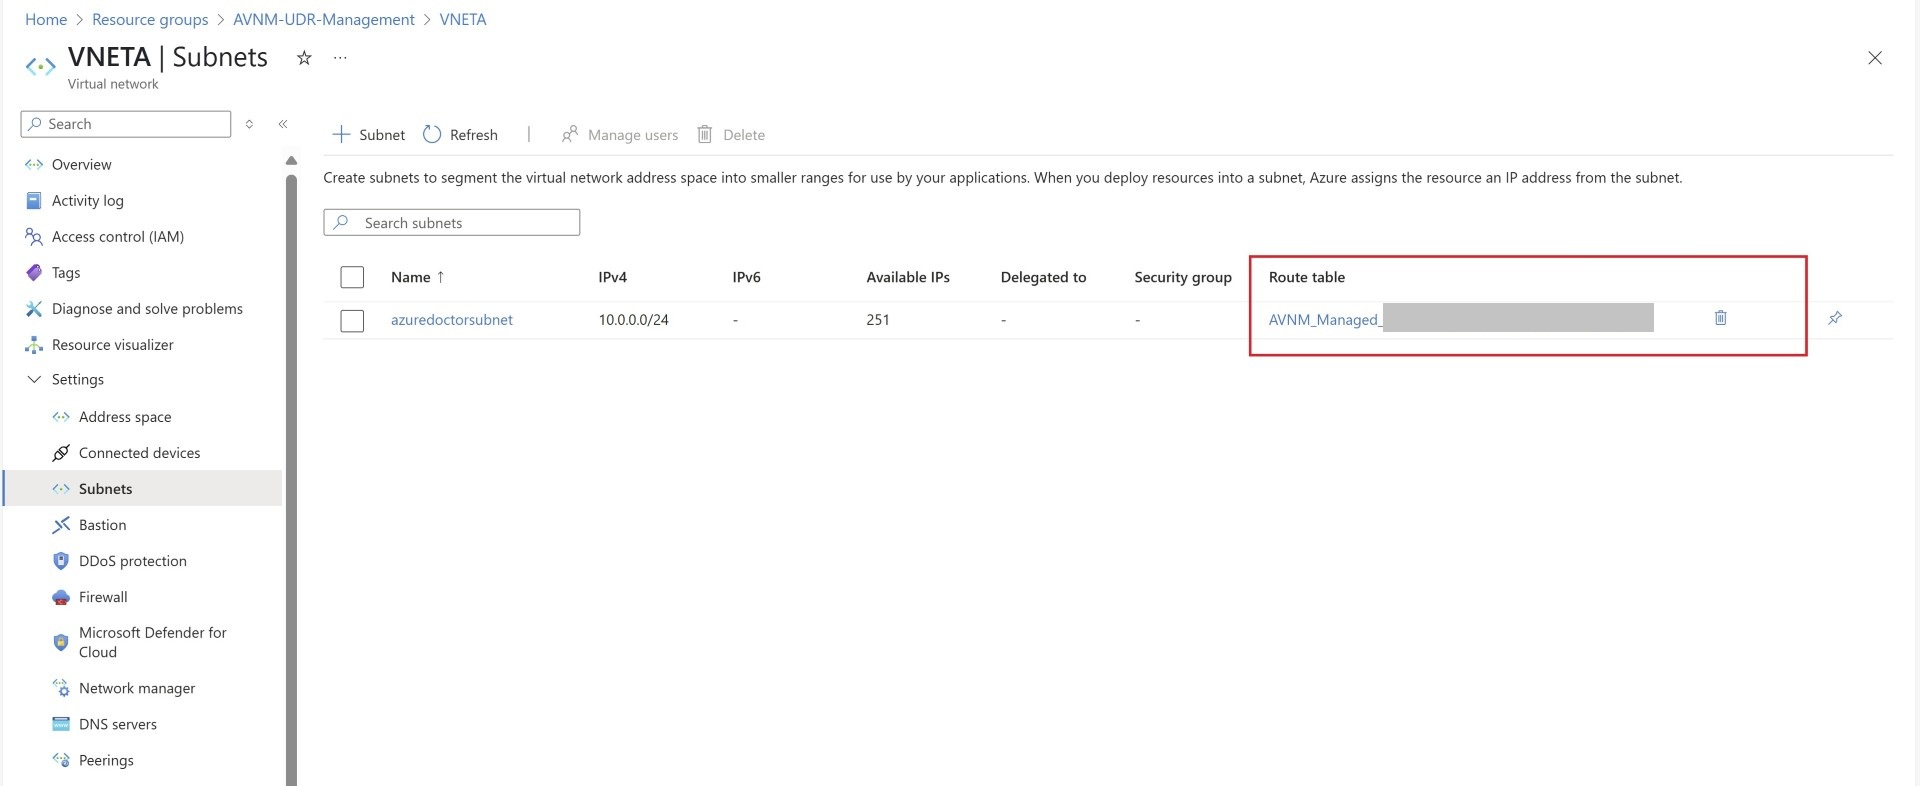
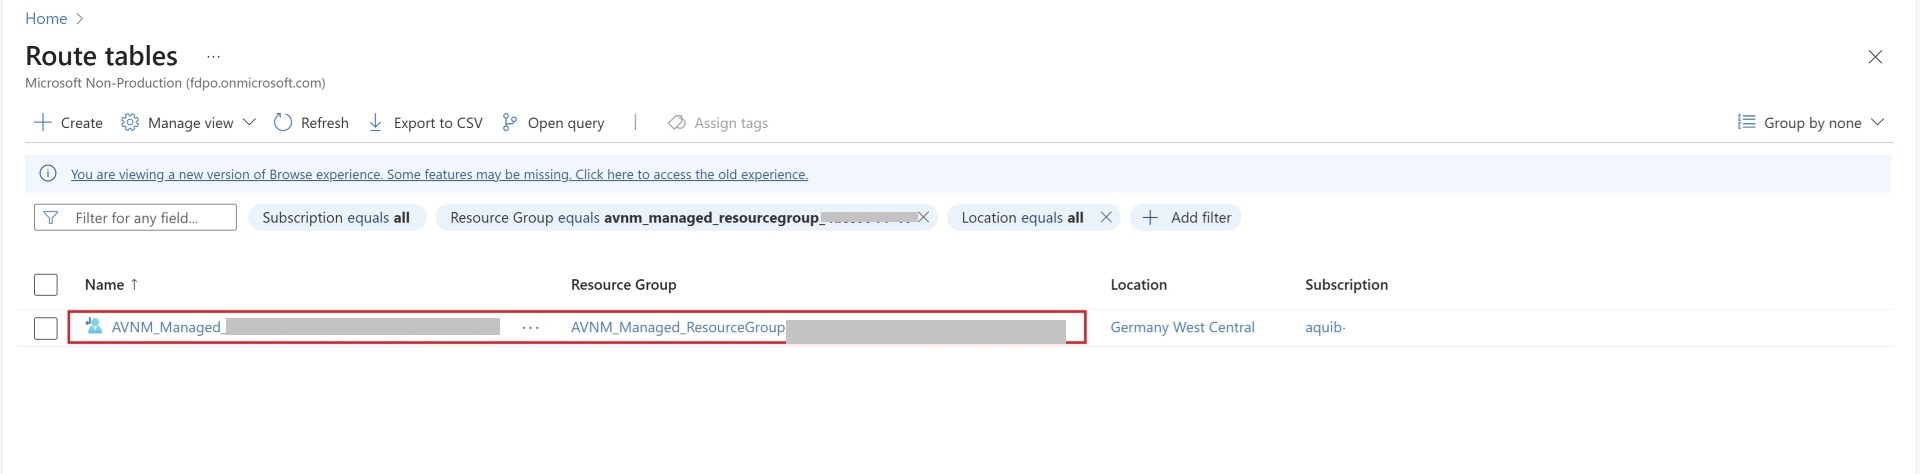
Additionally, when you search for the route table, you will find the same UDR in a managed resource group
When you click on the UDR, you will see the routes that were created in the routing configuration.
This blogpost is simple and no complex architecture is shown, however I hope blog helps you in implementing UDR management via AVNM and simplify your operational task. Share the blogpost if you like it.
Happy Learning!
Subscribe to my newsletter for the latest posts and summaries. Your privacy is paramount, and your email stays with us securely. click the link to submit your email. https://forms.office.com/r/6ysKm4nkp4